What you need
- A GitHub account. The free plan is enough.
- A ChatGPT or Claude account. Step 3 connects it to GitHub.
- Celerp on your computer, to use the module. Download Celerp.
Writing the code yourself? Read the module developer guide instead.
1. Create a GitHub account
GitHub is where your module's code lives. Go to github.com/signup and follow the steps. Your username becomes part of your module's web address.
During sign up, you'll be asked to verify your email address. Without a verified email address, you won't be able to complete some basic GitHub tasks, such as creating a repository.
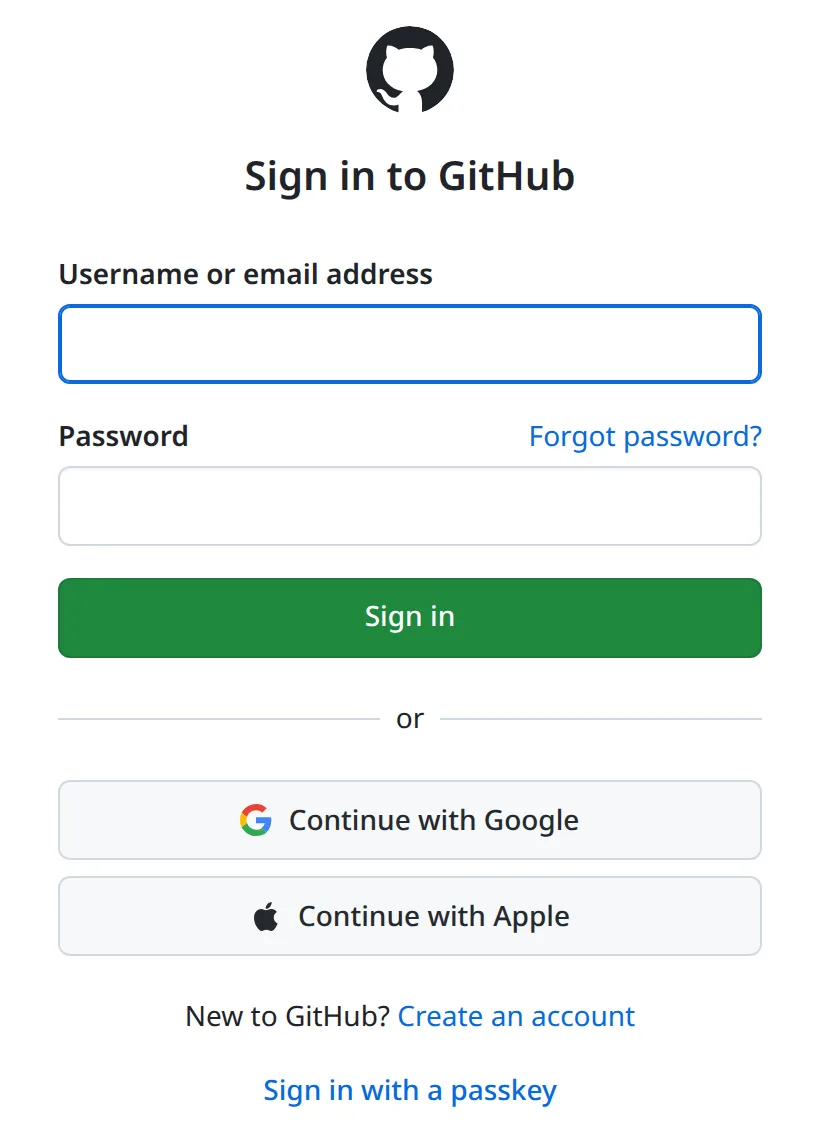
Already have an account? Sign in. If you are signed out when you click the button in step 2, GitHub shows this page first and opens the form once you sign in. Create an account at the bottom starts sign-up.
2. Create your module's repository
Your module lives in a repository of its own on your GitHub account, made from Celerp's module template. You make this click yourself: ChatGPT and Claude cannot create a repository through their GitHub connectors.
Create my module repository on GitHub
- Click the button above. GitHub opens Create a new repository with celerp/celerp-module-template already chosen under Start with a template.
- Under Repository name, type a short name for your module, for example visit-log. Leave Owner as your own account.
- Under Choose visibility, choose Public. Celerp only lists a module whose code anyone can read.
- Click Create repository.
GitHub copies the template into your new repository and opens it. Its address, for example github.com/your-name/visit-log, is what you give the chat in step 4.
3. Connect ChatGPT or Claude to GitHub
The chat writes, tests and fixes your module through its GitHub connector. Turn it on once, in whichever you use.
ChatGPT
- Open chatgpt.com and sign in. At the top of the sidebar, switch from Chat to Work.
- In the left sidebar, click Plugins, then GitHub, and follow the steps to connect your GitHub account. When GitHub asks which repositories ChatGPT can use, choose All repositories, so it can work in the repositories you make for your module.
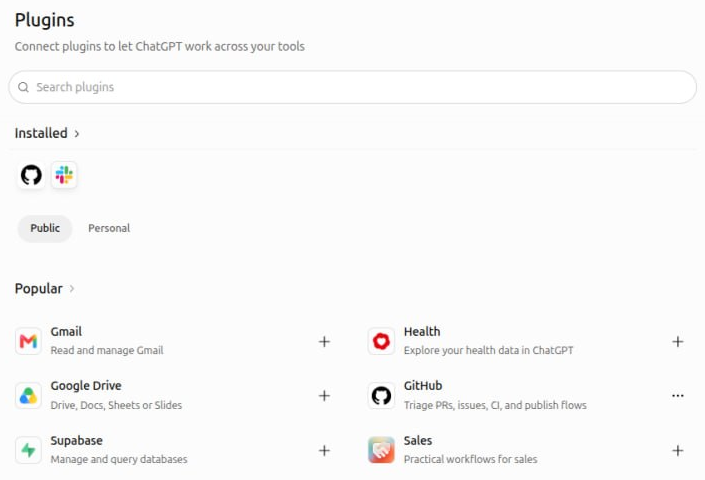
- In the chat, type @github at the start of your message, so ChatGPT uses GitHub for it.
Claude
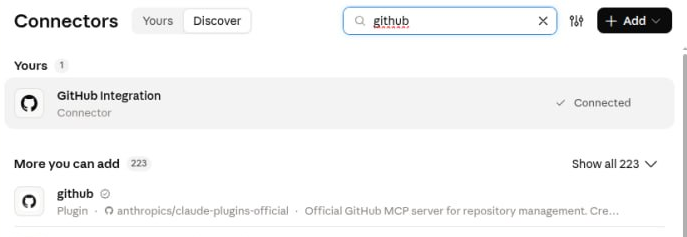
- Open claude.ai and sign in. Click + next to the chat box, then Connectors, Add connectors and Browse connectors.
- Choose GitHub Integration and connect your GitHub account.
If the Claude chat says it cannot commit to your repository, use Claude Code in the browser instead. It also works directly on GitHub, with nothing to install. Click the </> icon next to the chat icon at the top left, create a project on your module repository, and paste the prompt from step 4 there.

4. Describe the ERP feature you need
Start a new chat and paste this. Replace the part in brackets with your idea, and the repository address with yours from step 2. In ChatGPT, use Work and type @github at the start of the message. Keep the whole build in this one chat.
Build me a Celerp module that [what it should do, for example: keeps a log of customer visits, with the date, the customer and a note, newest first]. My module repository is https://github.com/[your-name]/[repository-name]. I created it on GitHub from the template https://github.com/celerp/celerp-module-template, so it already exists: do not create a repository. Work in it on GitHub through your GitHub connector. Read AGENTS.md in it and follow "Building for someone with an idea", steps 1 to 4. Ask me before you choose the module's name or license. Commit every file to the main branch, then read the result of the GitHub checks on your commit. If a check failed, read its log, fix the cause and commit again, until every check passes. Never tell me a check passed unless you saw it pass. Do not give me files to download or upload: if you cannot do a step on GitHub, tell me which step and why, and stop.Describe the feature in your own words: what you want to see, what you type in, and what should happen. The chat reads the instructions in your repository, asks you about anything that is yours to decide, then writes the module and commits it. Ask for changes the same way, in plain words, until it does what you want.
GitHub checks the module every time the chat commits to it. To see the result yourself, open your repository on GitHub: a green tick next to the latest commit means every check passed, and a red cross means one failed. The chat reads the same result and fixes what failed before it moves on.
If the chat says it cannot do a step on GitHub, it tells you which one. In ChatGPT, check that you are in Work and that the message starts with @github. In Claude, switch to Claude Code as described in step 3. If the chat offers to create a repository, tell it to use the one you created in step 2. The chat never needs to give you files: a module is built and listed on GitHub only.
5. Send it to Celerp Community Modules
Celerp's list of community modules lives at github.com/celerp/community-modules. A module has to be listed there before anyone, including you, can download it from inside Celerp. You list it with a pull request that adds your module's entry to the list and changes nothing else. GitHub takes that pull request only from your own copy of the list, called a fork, and the chat cannot make the fork, so that is one more click for you.
Fork Celerp Community Modules on GitHub
- Click the button above. GitHub opens Create a new fork. Leave everything as it is and click Create fork. You do this once: every later version uses the same fork.
- Paste this into the same chat, with your GitHub username in place of the part in brackets.
Send my Celerp module to Celerp Community Modules, https://github.com/celerp/community-modules. I forked it on GitHub to https://github.com/[your-name]/community-modules, so the fork already exists: do not create a fork or any other repository. On GitHub through your connector, following step 6 of "Building for someone with an idea" in AGENTS.md in my module repository: take the full id of the latest commit on my module repository's main branch, create a new branch in my fork from its main, and on that branch add my module's entry to index-v2.json and change no other file. Then open a pull request from that branch into celerp/community-modules main, filled in from its .github/PULL_REQUEST_TEMPLATE.md, and give me its link. If you cannot open that pull request, give me this link with OWNER set to my GitHub username and BRANCH to your branch, and stop: https://github.com/celerp/community-modules/compare/main...OWNER:community-modules:BRANCH?expand=1. Do not give me files to download or upload: if you cannot do a step, tell me which one and stop. - The chat commits your entry to a new branch in your fork and opens the pull request. If it cannot open a pull request into celerp/community-modules, it gives you a link instead. Open it, check that it shows one changed file, index-v2.json, and click Create pull request.
The pull request opens on its Conversation tab. An automatic listing check posts a comment there, headed Listing check: passed, Listing check: changes needed or Listing check: waiting for the maintainer, and keeps it up to date. To find the pull request later, open Pull requests on github.com/celerp/community-modules.
What the check looks at
- The module is in your own public GitHub repository, and the pull request was opened from the same account.
- It states a license, and the license matches the one in the repository.
- It has a name of its own: not Celerp, not something that looks like Celerp, and not a name another module already uses.
- Its files are laid out the way Celerp expects, and its settings pass the same check the template uses.
- It is small enough to install: at most 50 MB to download and 200 MB unpacked.
- It says which of your business data it touches and whether it connects to the internet. Both appear on its listing.
Some modules, for example one that makes its own network calls, are reviewed by a person at Celerp before they are listed.
What the comment means
- Listing check: passed: the pull request is merged automatically, and your module appears in the Community Modules tab of Celerp the next time Celerp refreshes that list. Go to step 6.
- Listing check: changes needed: the comment lists each thing to fix. Paste the prompt below into the same chat, then copy the whole comment from GitHub and paste it after the prompt. The chat fixes the module and updates the same pull request, and the check runs again by itself.
- Listing check: waiting for the maintainer: every required check passed, and a person at Celerp looks at the module before it is listed. There is nothing for you to do unless the comment asks you to change your entry; if it does, handle it like changes needed.
The Celerp listing check asked for changes on my pull request to celerp/community-modules. Its comment is below. Following AGENTS.md in my module repository, fix each item on GitHub through your connector: commit any fix to my module repository's main branch and read the checks until they pass, then, on the branch of my fork that the pull request comes from, set commit in my module's entry in index-v2.json to the new latest commit. Do not open a new pull request. Tell me plainly if anything is left for me to do. The comment:The comment can also note that a check on your module's own repository failed. That does not stop the listing, but ask the chat to fix it. If the comment asks you to close and reopen the pull request, click Close pull request at the bottom of its Conversation tab, then Reopen pull request.
New versions
Ask the chat for the change in plain words, the same way you built the module. It raises the version number, commits the change and reads the checks. When they pass, open your fork on GitHub and click Sync fork, then Update branch if GitHub offers it, so your fork has the latest list. Then paste this into the same chat. Every version is listed the same way, with a new pull request.
My Celerp module has a new version on my module repository's main branch, and every check on it passed. I brought my fork https://github.com/[your-name]/community-modules up to date with celerp/community-modules on GitHub. On GitHub through your connector, following step 8 of "Building for someone with an idea" in AGENTS.md in my module repository: create a new branch in my fork from its main, set commit in my module's entry in index-v2.json to the full id of the latest commit on my module repository's main branch, change no other file, and open a new pull request from that branch into celerp/community-modules main. Give me its link. If you cannot open it, give me this link with OWNER set to my GitHub username and BRANCH to your branch: https://github.com/celerp/community-modules/compare/main...OWNER:community-modules:BRANCH?expand=1.Once the new version is listed, it replaces the old one in the Community Modules list. Celerp does not update a module someone has already installed. To move to the new version, on the Installed Modules tab click Disable on the module and Restart Now, then click × and choose Delete module. Then download and import the new version as in step 6. Delete module keeps the module's data, so it reconnects after the import; only Delete and purge data removes it.
6. Install it in Celerp
Once it is listed, your module is in the Community Modules tab of the Modules page in every Celerp, including yours. Only the installation owner, the account that set up that Celerp, can install, remove or restart modules.
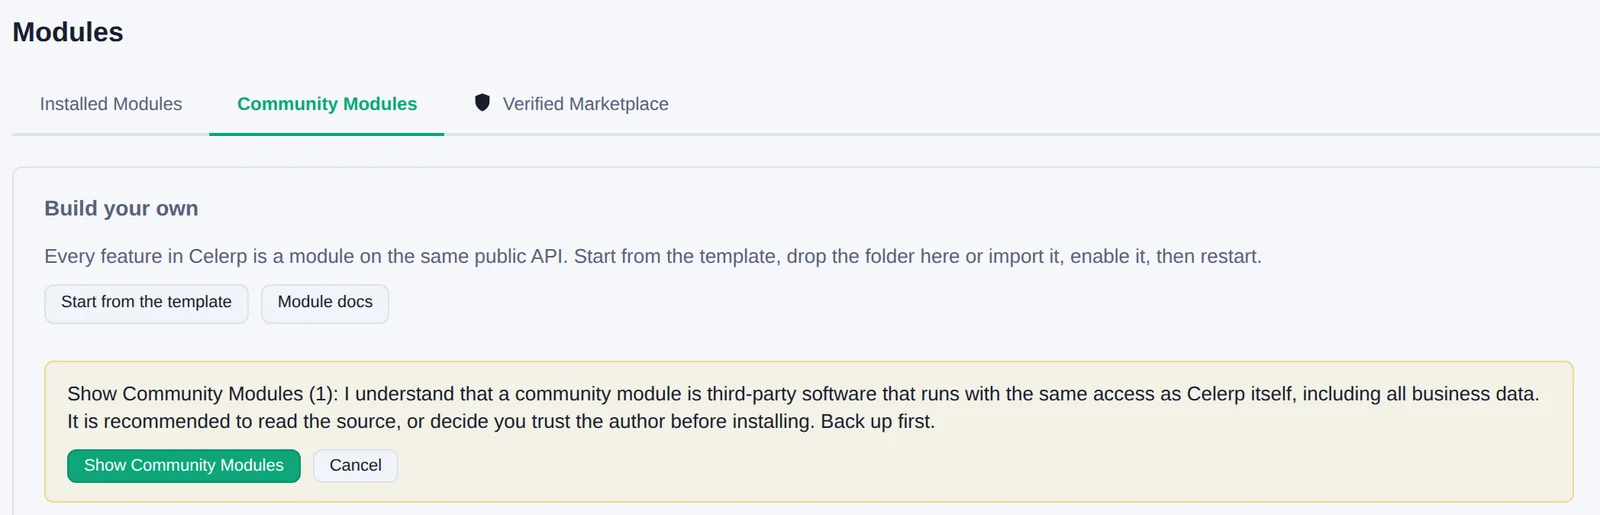
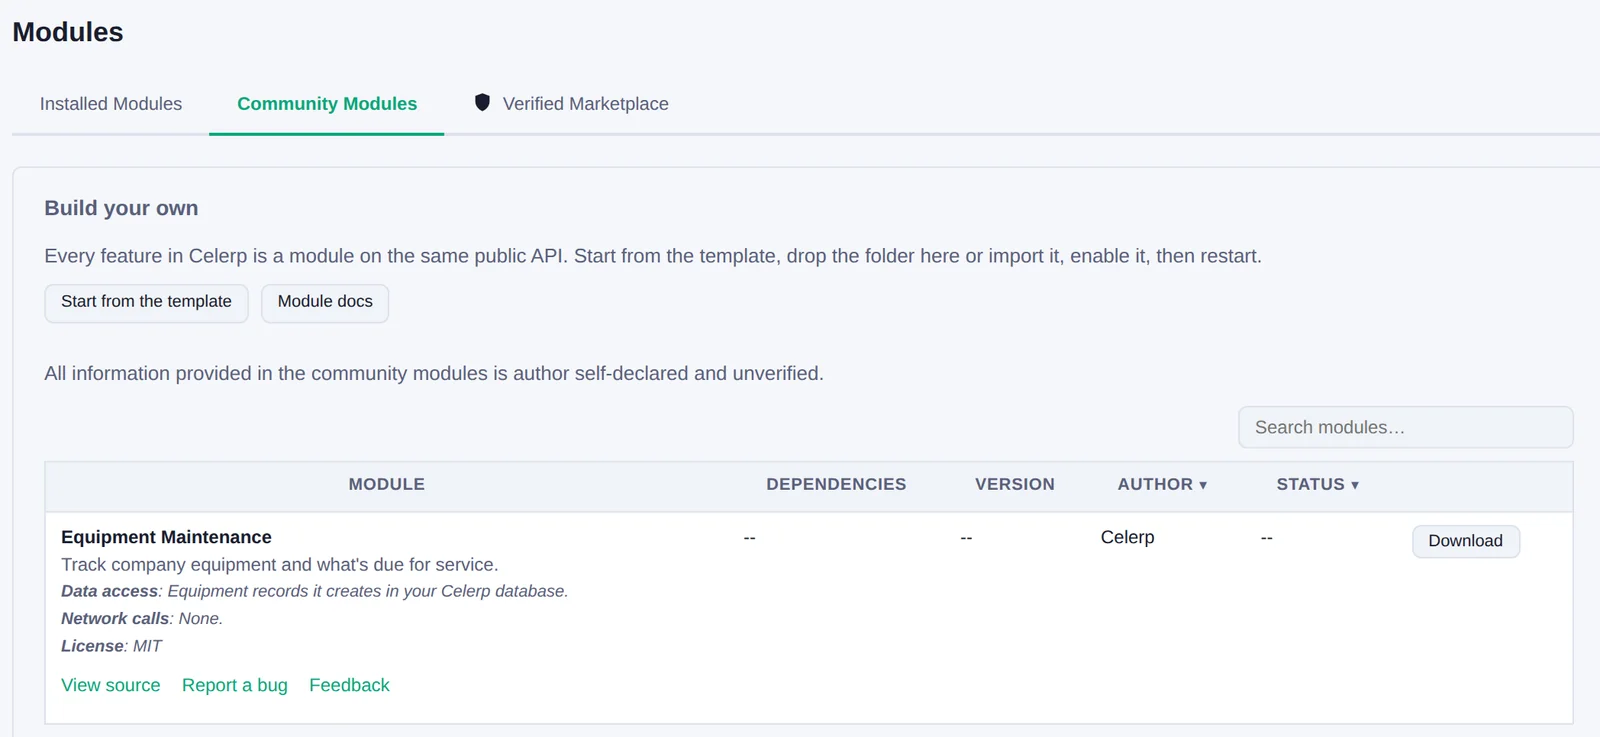
- Open Modules, then the Community Modules tab. The first time, read the note about third-party modules and click Show Community Modules.
- Find your module and click Download. Its listing shows what it touches, as declared, and links to its code.
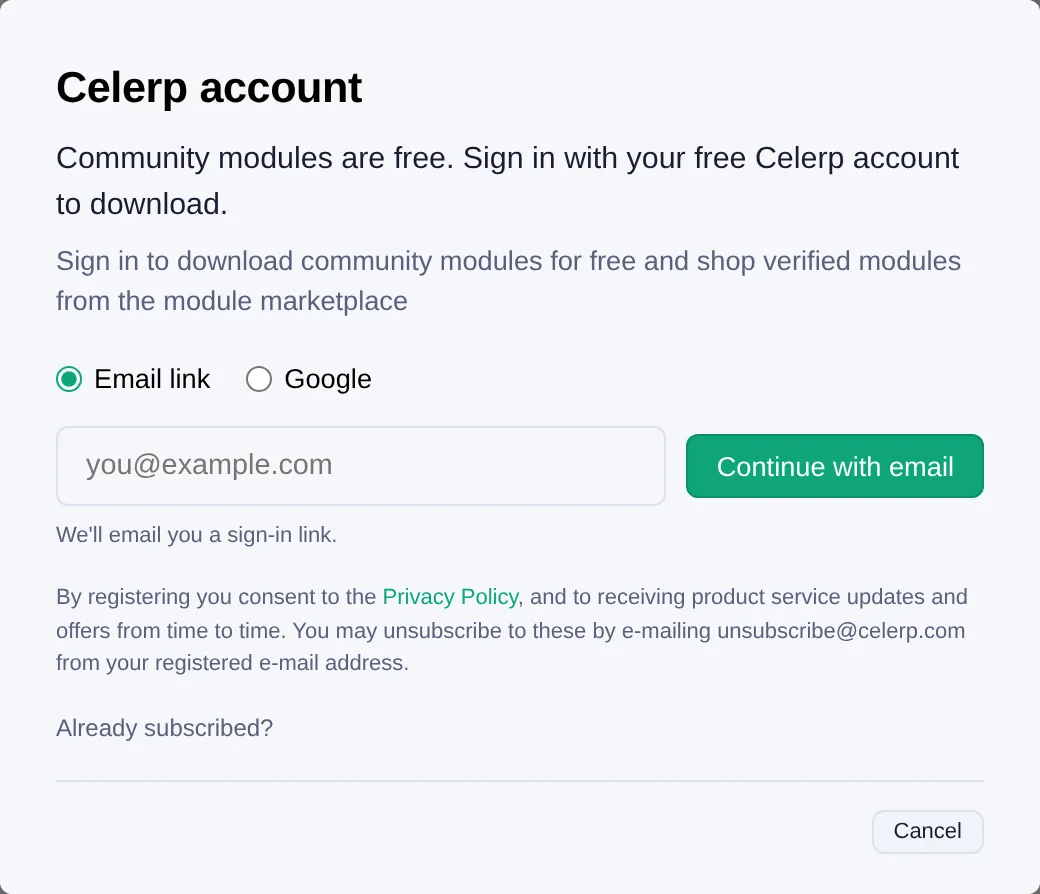
- The first download asks you to sign in with a free Celerp account. Enter your email and open the link Celerp sends you, or use Google.
- When the status shows Downloaded, click Import.

- Celerp opens Installed Modules. Click Enable on your module, then Restart Now.

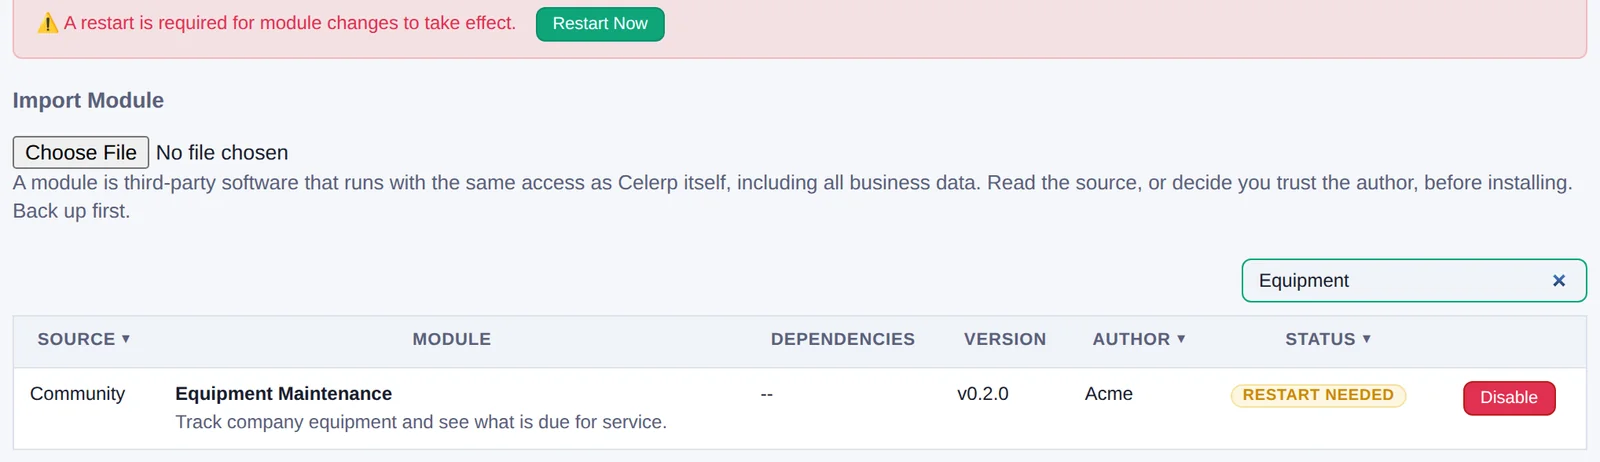
After the restart, your module is running. To turn it off, click Disable on the same row.
Examples of ERP features you can ask for
Copy one in place of the part in brackets in the step 4 prompt, as it is or changed to fit how you work.
Customer visit log
keeps a log of customer visits, with the date, the customer, who visited and a note, newest firstEquipment maintenance
tracks our equipment and its servicing: each machine, the date and notes of every service, and when the next one is dueSupplier price list history
keeps every price list each supplier sends us, so I can see what an item cost from a supplier on any date and how it changedDelivery route sheet
makes a printable delivery route sheet for a day: the stops in order, with the customer, the address and what to deliver at eachStaff task checklist
gives each member of staff a daily task checklist they tick off, records when each task was done, and lists what is still openQuestions about building with ChatGPT or Claude
Do I need to install anything?
Only Celerp, to use the module. You make a few clicks on GitHub in your browser, and ChatGPT or Claude builds, tests and fixes the module there: you never open a terminal, download a file or upload one.
Which plans do I need?
GitHub's free plan is enough. For the chat, see ChatGPT plans and Claude plans. Which plans include Work and the GitHub connector is up to each of them.
Is my module public?
Yes. Celerp only lists a module whose code anyone can read, so you choose Public when you create the repository in step 2. Only the code is public: the records the module keeps stay in your own Celerp.
Can the chat see my business data?
No. It works on the module's code on GitHub and never connects to your Celerp.
Is this vibe coding?
Close to it: you describe the feature and the chat writes the code. The difference is what checks it. GitHub runs Celerp's lint and tests on every commit, and the listing check looks at the module before it reaches the catalog.
Who can use my module?
Once it is listed, anyone using Celerp can install it from the Community Modules tab. It is one of Celerp's open-source modules, under the license you chose when the chat asked.
Can I change it later?
Yes. Ask the chat for the change and send the new version as described under New versions in step 5. Anyone who installed the old version moves to the new one themselves.